


Cloudflare offers an easy way to manage your DNS records and enable its performance and security features — such as caching, DDoS protection, and SSL — through its proxy (orange cloud) system. However, there are times when you might need to disable the Cloudflare proxy for a specific DNS record. This is commonly required when you need to:
- Connect directly to your origin server (for API calls or SSH access).
- Troubleshoot website or SSL issues.
- Allow third-party services to verify your domain or connect directly via IP.
In this guide, we’ll show you how to disable the Cloudflare proxy for a single DNS record safely and effectively.
Step 1: Log in to Your Cloudflare Dashboard
- Go to https://dash.cloudflare.com and sign in to your Cloudflare account.
- Select the domain you want to modify from your list of active sites.
Step 2: Access the DNS Settings
- In the left-hand sidebar, click DNS → Records.
- You’ll see a list of all DNS records currently configured for your domain — including A, CNAME, MX, TXT, and others.
Step 3: Locate the Record You Want to Modify
Find the specific DNS record for which you want to disable Cloudflare’s proxy.
You’ll notice an orange cloud icon next to proxied records, indicating that Cloudflare’s proxy is active.
Example:
Type: A
Name: domain.com
Content: 203.0.113.10
Proxy status: Proxied (orange cloud)
Step 4: Disable the Proxy
To disable the proxy for that record:
- Click the orange cloud icon next to the record.
- It will turn grey, indicating the record is now in DNS-only mode.
When the cloud is grey, traffic to that record will bypass Cloudflare’s proxy and connect directly to your origin server.
Step 5: Verify the Change(optional)
After disabling the proxy:
- Hover over the grey cloud icon — it should display “DNS only.”
- You can use a command like
digornslookupto confirm that the DNS record now resolves to your server’s actual IP address.
dig api.example.com
You should see your origin server’s IP in the “ANSWER SECTION.”
Step 6: Wait for DNS Propagation
DNS changes typically propagate within a few minutes, but depending on TTL settings, it may take longer. Once propagation completes, all traffic to that DNS record will bypass Cloudflare’s network.
Important Notes
- Security Impact: Disabling the proxy exposes your origin server’s IP address publicly. Do this only when necessary.
- Performance Impact: The record will no longer benefit from Cloudflare’s caching, DDoS protection, or performance optimization.
- Partial Proxying: You can selectively disable the proxy for non-critical services (e.g., FTP, API, or mail subdomains) while keeping it active for your main website.
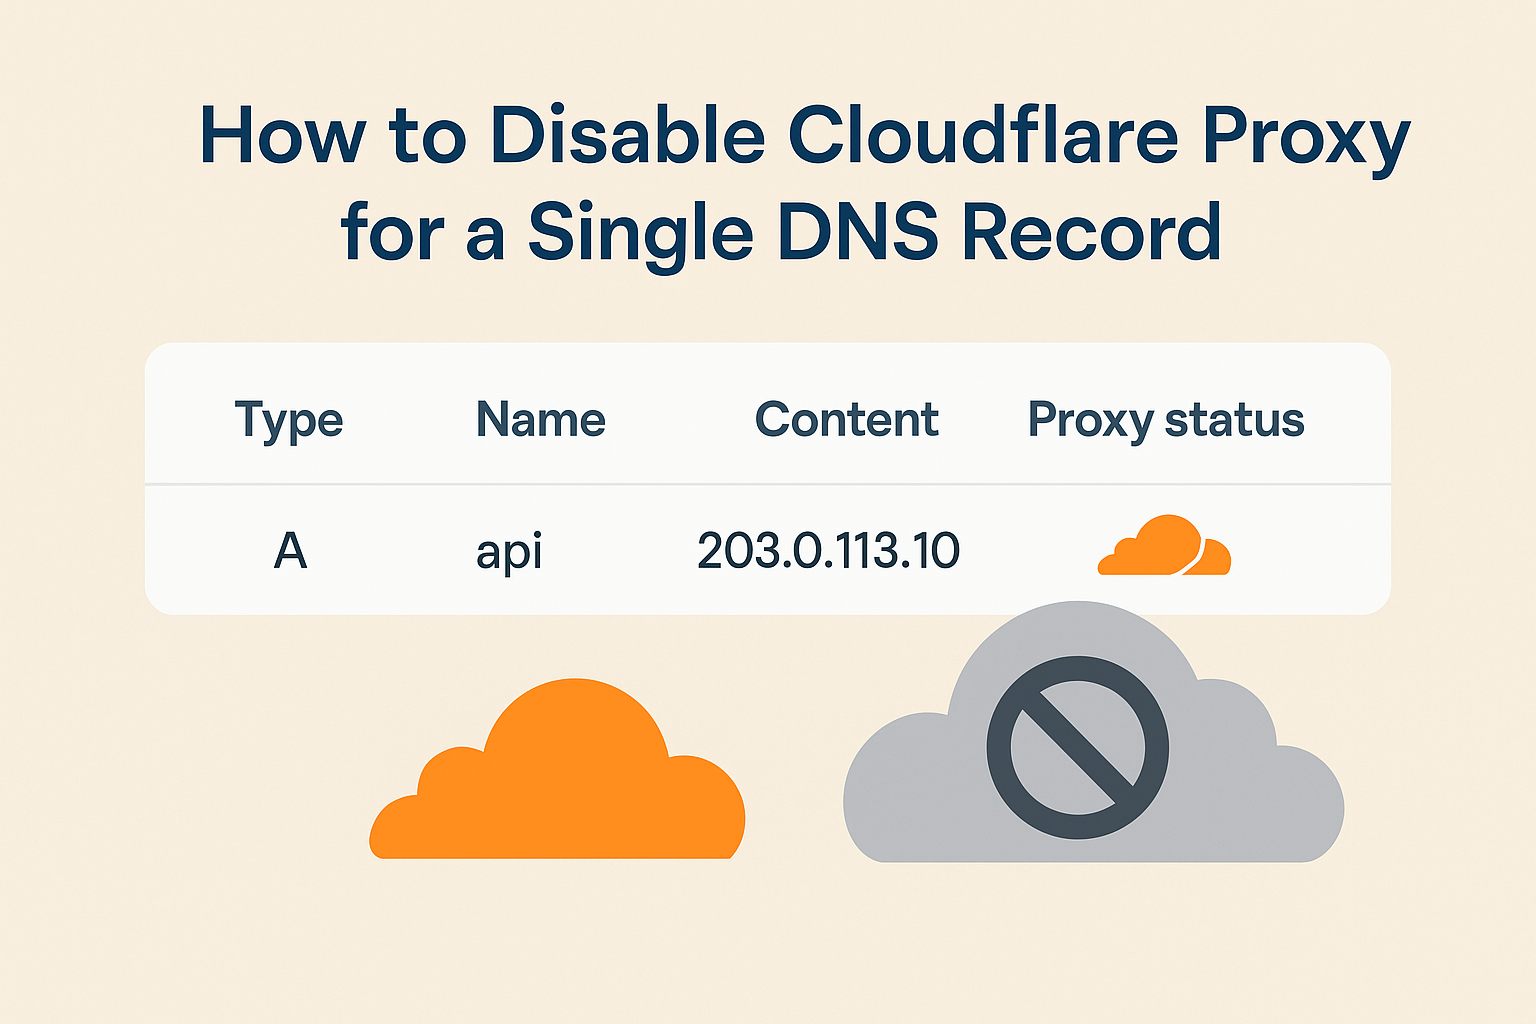
Example Use Case
If you’re running an API under api.example.com that requires direct access to the origin server, you can set:
Type: A
Name: api
Content: 203.0.113.10
Proxy status: DNS only (grey cloud)
This ensures that API clients connect directly to your server without interference from Cloudflare’s reverse proxy.
Conclusion
Disabling the Cloudflare proxy for a single DNS record is a simple but powerful configuration step. It gives you the flexibility to maintain Cloudflare’s protection and acceleration for your website while keeping direct access open for specific services when needed.
By following the steps above, you can manage your DNS records with precision and ensure optimal control over your Cloudflare setup.